Month: April 2020

How to Clean Your Air Vents

How to Clean Your Air Vents

Face masks and gloves have become standard outerwear. These days, you’re probably hyperaware of air pollutants, being even more cautious about what you’re bringing into your home. But what about the particles that floated around in your home before social distancing? To keep from breathing in stale, polluted air, you might be plotting to clean your air vents, but the task may not be as simple as you were imagining. Here’s how to clean your air vents.

1. Turn Off Your HVAC

Before you can effectively clean your vents, you’ll need to turn off your central air system. Think about it: How can you wipe away dust and debris if it’s dancing to the beat of an artificial breeze? Besides being difficult to clean, your blowing AC unit could blast debris right into your eyes. It might not be dangerous necessarily, but it certainly won’t be comfortable. Cut down on the chaos by turning your HVAC off before you clean your air vents.

2. Clean the Grills on the Walls

The grilled casings that channel air into your rooms — that’s the first thing that needs your attention. Just looking at the grills of your vents could give you the shivers: they’re so caked in dust, they’ve forgotten their original color. Unscrew the grills and scrub them with a cleaning brush or even an old toothbrush.

3. Vacuum the Ducts

Now that you’ve addressed the borders between your HVAC and your home, it’s time to clean up the streets. (In this metaphor, the air ducts are the streets, in case that wasn’t clear!) Take the detachable hose of your vacuum cleaner and use it to suction as many dust bunnies out of the vent channels as possible. You can also use a hand-held vacuum cleaner, but be prepared to empty the cartridge repeatedly.

4. Clean the Grills in the Ceiling

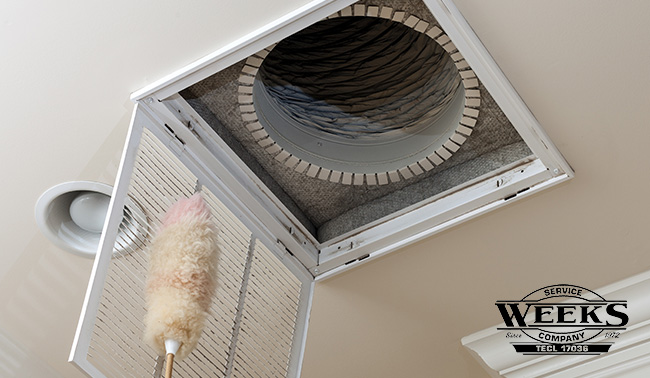
Unlike the grills on your walls, the grills in the ceiling are barriers to abominable horrors: dead bugs, mold, and mildew, as well as dust and debris. While the grills in your ceiling do open, they don’t usually fully detach, making them hard to clean. What’s more: Gravity will help you out by dumping the contents of the vent out as soon as you open the grilled gate.

To clean these grills, wear a face mask (we’re sure you have plenty by now) and eye protection. Clear the space beneath the vent entrance and lay down a tarp, if you have one handy. From there, you can open the grill, watch the stuff of nightmares fall out, and then use your vacuum cleaner to address the rest.

5. Hire a Professional

While a cleaning brush and vacuum cleaner will certainly improve your indoor air quality, they’re not going to make your vents squeaky-clean. The best way to remove dust, debris, and germs from your vents is to hire a licensed HVAC professional.

At Weeks Service Co., we have HVAC professionals to spare. They’re waiting for your call, so don’t hesitate to reach out and schedule an appointment.

5 Tips to Get Your AC Summer Ready

5 Tips to Get Your AC Summer Ready

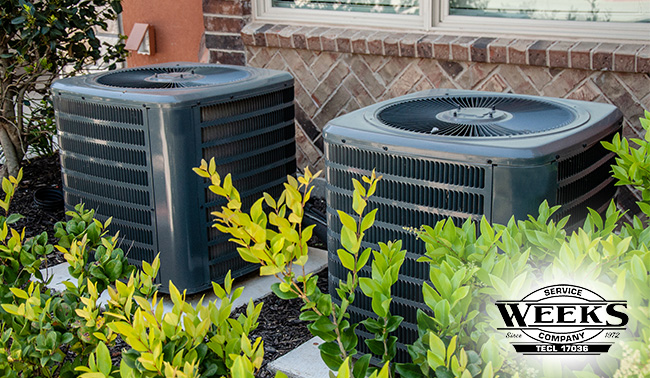
There isn’t much that can beat the sweltering heat of summer better than a good air-conditioned house. During the end of a frigid winter and throughout the mild spring it’s easy to forget that the air conditioner unit will likely be on for the majority of every day in just a few weeks, and that’s just to keep things comfortable! More than half of your energy bill usually goes to the air conditioner alone on those hot summer days. If your air conditioner isn’t ready for summer, your wallet might not be either! We’ll discuss some good tips and tricks to help keep your air conditioner running smoothly and efficiently so you don’t have to sweat the temperature or your budget! Here are 5 tips to get your AC summer ready.


1. Air Filters


By far the most DIY option available is the humble filter replacement. This isn’t quite done often enough by most owners, and it shows in terms of performance. Generally, the filters should be replaced every month during the summer to ensure smooth operation. These filters are generally located somewhere accessible, and typically on a removable panel that can be unscrewed or easily removed. If a permanent filter exists, rather than replace it you’d simply clean it before reinstallation.


2. Ductwork


A little less DIY, since your ductwork is in ceilings, floors, and walls. This is best done by a professional, if possible! You can clean registers and vents, but the majority of the work will be cleaning and drying ductwork that’s collected condensation, dust, and dander. Keeping these clean and dry will prevent mold and mildew, as well as other harmful bacteria, from spreading in your home as well as improve the efficiency of your HVAC system!


3. Condensate Lines


Sometimes the lines that carry moisture away from the unit can become clogged, when this happens the water can back up into the air conditioner unit and cause water damage to your home! Track down the exit point of and ensure that water is flowing out while the system is on. If not, contact a professional immediately! If it seems more like a trickle, you might have a partial clog that needs to be addressed sooner rather than later.


4. Clean the Evaporator


If you see a foil-like wrapping on the top of your air conditioner, then the evaporator can be accessed and cleaned easily. You can simply remove the evaporator from the unit and clean it with a thick wire brush and replace it, then run the system to remove any debris or grime you might’ve missed.


5. Schedule an AC Tune-Up


On our list of tips to get your AC summer ready, this is the most important: Schedule a professional AC tune-up to ensure your AC is running smoothly before things get too heated.

Consider giving the professionals at Weeks a call to set up an appointment! They can go over all the basics and answer any questions you might have – as well as cover even more that isn’t mentioned here! The qualified and licensed technicians can make the air conditioning unit run like new and you won’t have to worry about buying replacement filters, installing, cleaning, or inspecting anything!